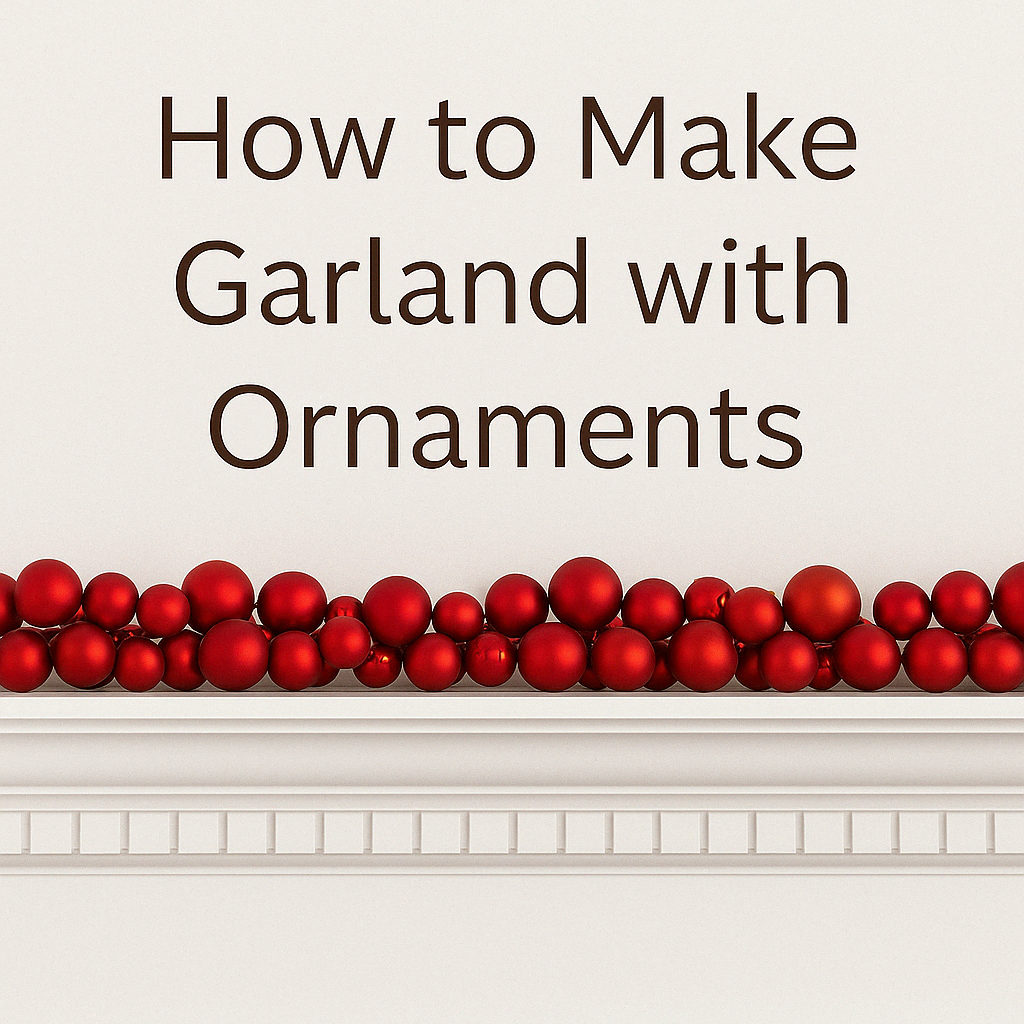
How to make a ornament garland: A Step-by-Step DIY Holiday Decoration Guide
Looking for a festive and affordable way to decorate your home this holiday season? Learn how to make garland with ornaments and transform your mantel, staircase, or doorway into a winter wonderland. This DIY ornament garland tutorial is beginner-friendly and packed with tips to make your Christmas decorating easier and more beautiful than ever!
Whether you’re decorating for Christmas, a winter party, or simply want to add some sparkle to your space, ornament garland is a timeless and customizable decor piece. In this guide, we’ll cover what supplies you need, how to assemble your garland, and some creative ideas to make it your own.
Why Make Garland with Ornaments?
- Budget-friendly holiday decor
- Customizable to any color scheme or theme
- Easy to assemble with minimal tools
- Reusable year after year
- Perfect for Christmas trees, staircases, mantels, and more
Supplies You’ll Need
Before you get started on your DIY ornament garland, gather these supplies:
-
Shatterproof ornaments (plastic is best to avoid breakage)
-
Garland base: sturdy twine, floral wire, or pool noodle
-
String lights
-
Hot glue gun and glue sticks
-
Zip ties, floral wire, or twist ties
-
Scissors or wire cutters
-
Optional: Wooden Ornaments, greenery garland, ribbons, bells, pinecones, bows
Step-by-Step Instructions for DIY Ornament Garland
Step 1: Choose Your Color Scheme
Pick 2–4 colors for a balanced, cohesive look. Classic combos like red and gold, silver and blue, or even modern pink and white themes look stunning!
Step 2: Prep the Ornaments
Remove the hanging strings and reinforce the ornament tops with a dot of hot glue to prevent them from popping off during assembly.
Step 3: Arrange Before Attaching
Lay out your ornaments in a pattern. Mix small, medium, and large ornaments to add dimension to your Christmas garland.
Step 4: Attach Ornaments to Garland Base
Use floral wire or zip ties to secure ornaments to the garland string. Start from the center and work outward. For a fuller look, layer ornaments and angle them in different directions.
Tip: Want more flair? Add ribbon or greenery between the ornaments for a lush, professional finish.
Step 5: Fill in the Gaps
Use smaller ornaments or festive accents (like bows or faux berries) to fill any visible gaps in the garland.
Step 6: Hang and Enjoy!
Use hooks, nails, or command strips to hang your new DIY ornament garland over a fireplace mantel, along your stair railing, or across a door frame.
Creative Garland Ideas
-
Vintage Ornament Garland: Use thrifted or antique ornaments for a nostalgic vibe.
-
Themed Garlands: Try a Disney, Grinch, or rustic farmhouse theme.
-
Mini Ornaments Garland: Perfect for a small tree or kid’s room.
-
Wooden Ornament Garland: Laser-cut or handmade wooden ornaments create a unique, natural feel.
-
Personalized Ornament Garland: Add family names, wedding dates, or monograms for a sentimental touch.
Tips for Making the Best Ornament Garland
-
Use shatterproof ornaments for safety and durability.
-
Mix textures: shiny, matte, glitter, and patterned for visual interest.
-
Keep it lightweight if hanging on banisters or around delicate areas.
-
Want to light it up? Use a string of battery-operated lights as your base!
Final Thoughts
Making garland with ornaments is a simple, stunning way to add a personal touch to your holiday decorations. It’s a DIY project that’s great for families, craft nights, or solo creative time. Whether you go glam, rustic, or colorful, your ornament garland will be a show-stopping part of your Christmas decor.
Ready to get started? Grab your supplies, pick your theme, and get crafting!